Friday, 26 July 2019

Friendship Star Block

Friendship Star

This tutorial will make a 6" Friendship Star Block.  I used only two fabrics.  A cream tone on tone fabric for the background and a pattern blue fabric for the star block.

Background  
Cut two 3 1/2 inch squares
Cut four 2 1/2 inch squares
Star 
Cut two 3 1/2 inch squares
Cut one 2 1/2 inch square

Layer one background and one star 3 1/2 inch square right side facing and pin.  Draw a diagonal line from corner to corner.  Then draw a line quarter inch either side of diagonal line.
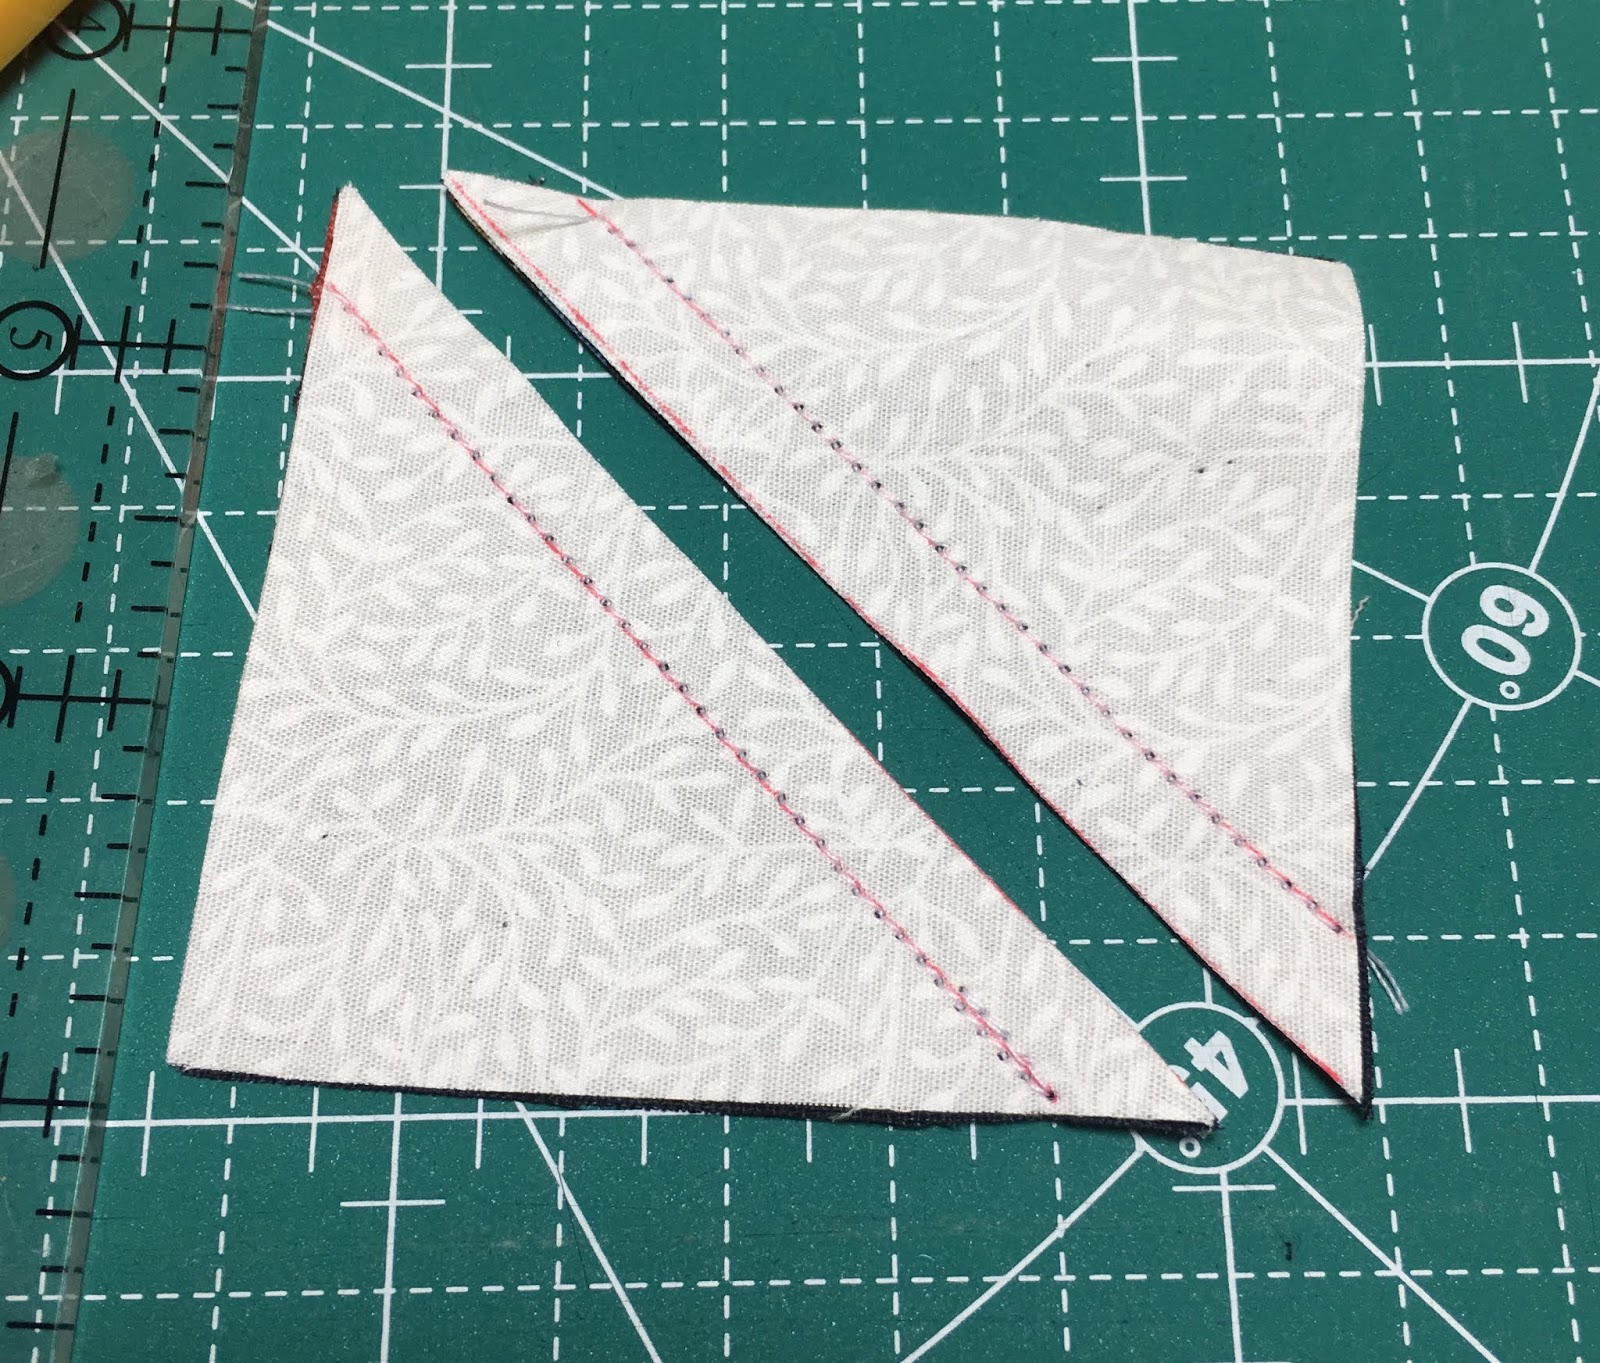
Sew on the outer lines.  I like to use an open toe foot on my sewing machine for sewing when using this method.  I like to be able to see the line where I am sewing.  If you wish you could hand stitch the lines.
The cut on the centre line. Repeat with the other pair 3 1/2 squares.
Press towards the darkest fabric.  PRESS, please do not iron, and treat with care as this is a bias seam.    Now trim the half square triangle squares to 2 1/2 inches.  Remembering to place the 45 degree line on your ruler along the stitched seam.
Arrange your squares as shown above.  Watch out for the correct placement of your half square triangle squares.
Sew into three rows using a quarter inch seam allowance.  Press the top and bottom seams away for the centre square.  Press the middle seams towards the centre square.  This will make it easy to stitch the three rows together.  Please remember to match up all your seams.
Now give your finished block a press.  The block should now measure 6 1/2 inches.  Once sewn into a project or quilt it will a 'finished' 6 inch square

Monday, 28 January 2019

Ditsy Print

I really love this fabric but it is getting harder to find it in the shops or at craft shows. I have the feeling it is being discontinued, which is a shame as it is a lovely fabric.
So if I find it whilst at a show do not be surprise if you spot me buying a bolt.

Saturday, 19 January 2019

New Year and New Bag

We had a wonderful time in Brittany over Christmas. Now a new year and new beginnings. 
I missed my sewing machine whilst away so it is lovely to get back to using it.
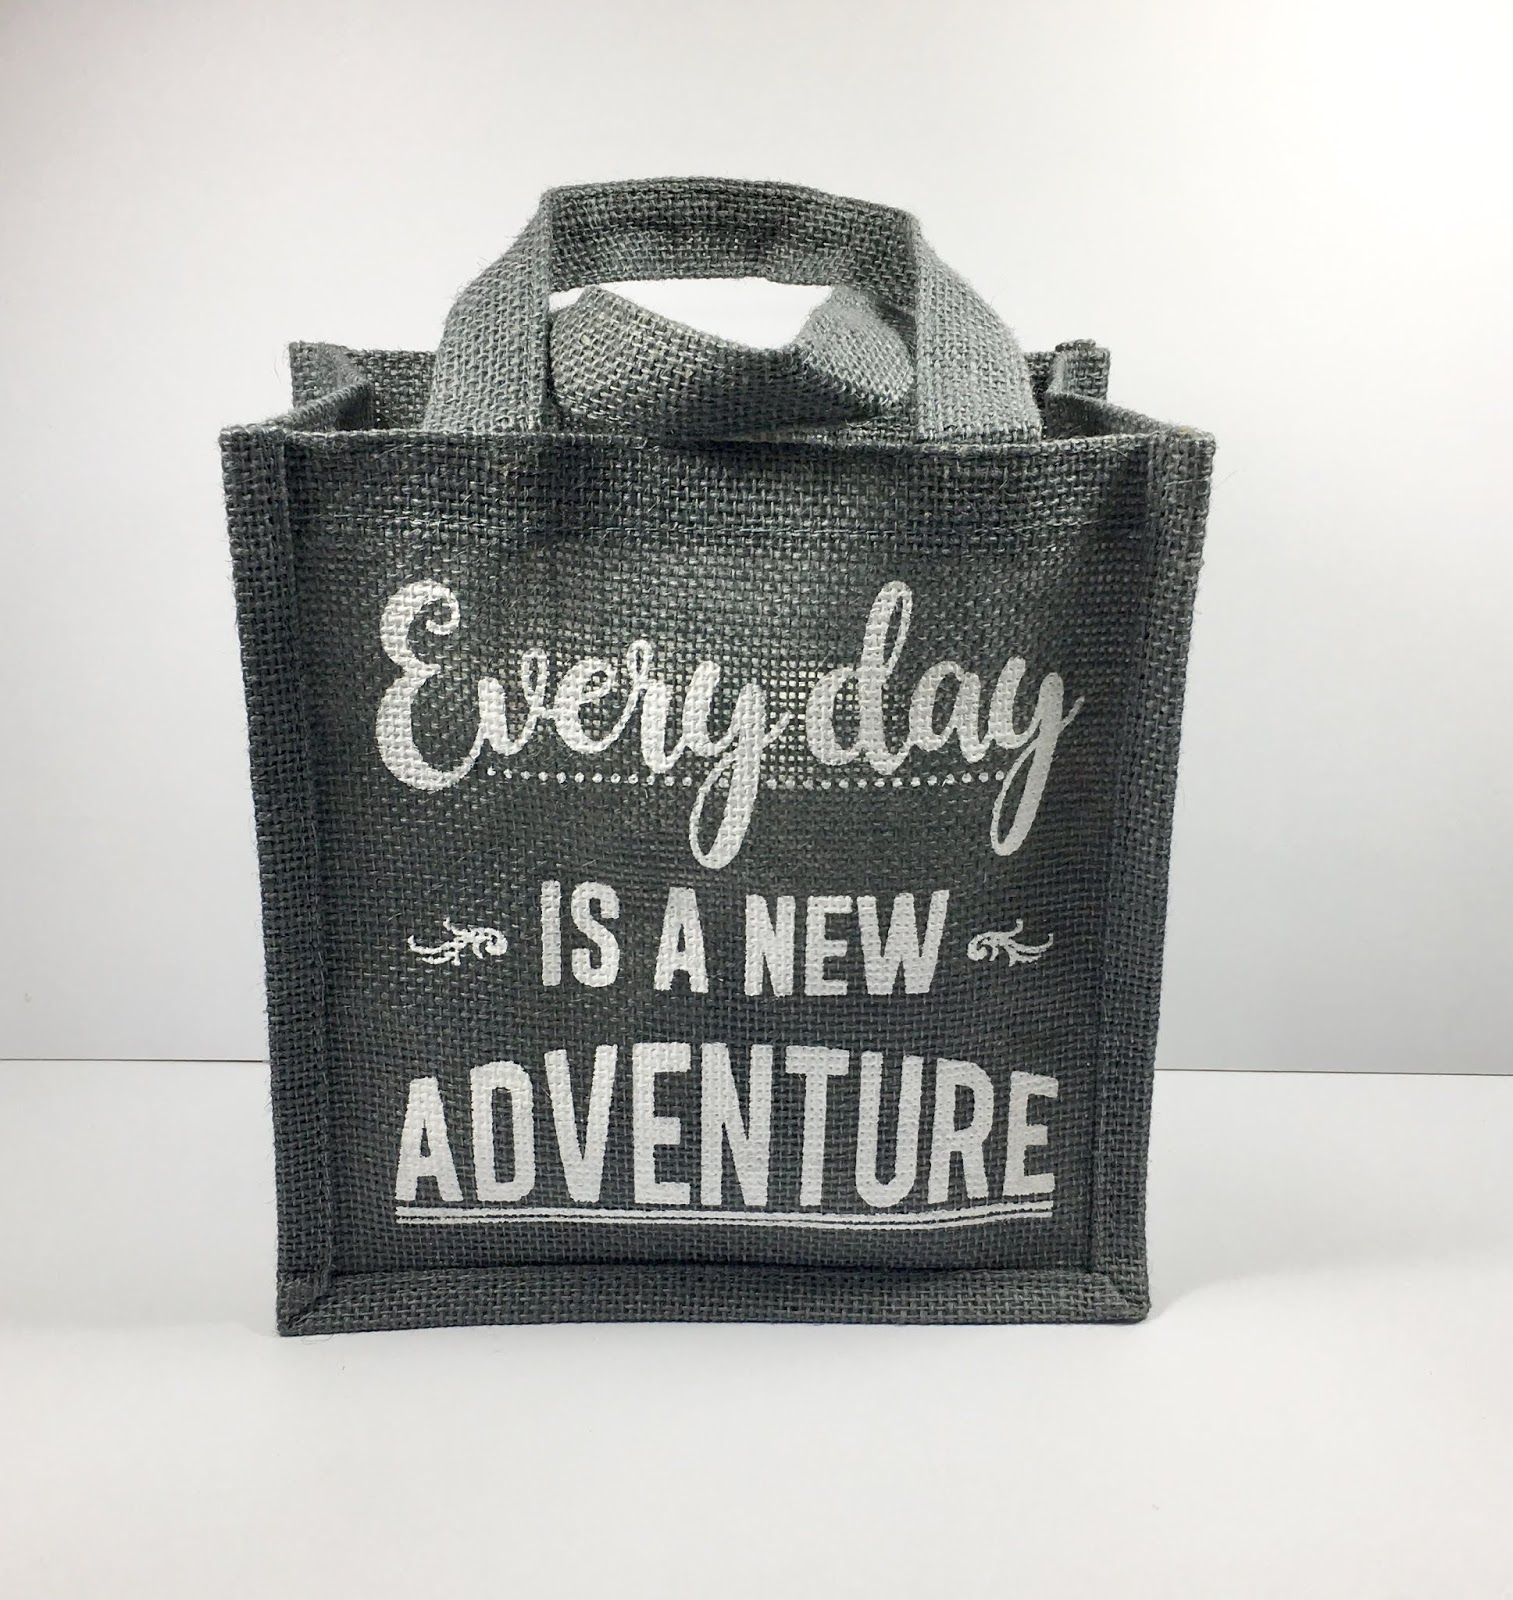
I purchase this sewing notion fabric at the Autumn Malvern Quilt Show and only just got around to using it.
It is a very large print.  It stitched like a dream.  
Now I have to decided whether to keep it or list it on my Esty Shop.
I will let you know what I decide to do with this pretty little bag.

Wednesday, 2 January 2019

Every Day is a New Adventure.

My word for 2019 is 'Adventure'.  Every day is a new adventure.  

The last year has once again passed too quickly. I managed to make three contemporary art quilts that exhibited national.  I have two more in planning for the Quilt Show at Exeter in the spring 2019.

I started well in 2018 when I set aside two mornings a week to plan, draft and sew new ideas.  Life got busy towards this middle of the year and I let slip these sessions.  I would like to get back into the routine of Tuesday and Thursday mornings as working sessions.  It is still important to me to discipline myself to set aside the time.

My Esty shops and classes kept me extremely busy especially around Christmas time.  I love designing new projects and patterns for both.  I have new designs on the drawing board for 2019.  

I am still a work in progress when it comes to de-cluttering my sewing room and studio.  I had sold a few unwanted items on Ebay.  

I also have the same UFOs as previous years waiting to be completed but I have learnt not to worry about them.  They will get finished when I have some inspiration to complete them. 

I am inspire to have a new adventure everyday in 2019.  Let's begin......


Friday, 21 December 2018

Winter Solstice

We have arrived again at my favourite time of the year - Winter Solstice.  This year my family and I are celebrating the winter solstice in Brittany France.  The sunset sets an hour later here than in the UK so it feels like spring in Plounevez-Lochrist.
As we wave goodbye to another winter, I would like to wish everyone 'Bon Noel et Bonne Annee'.


Thursday, 26 July 2018

Friendship Star

This tutorial will make a 6" Friendship Star Block.  I used only two fabrics.  A cream tone on tone fabric for the background and a pattern blue fabric for the star block.

Background  
Cut two 3 1/2 inch squares
Cut four 2 1/2 inch squares
Star 
Cut two 3 1/2 inch squares
Cut one 2 1/2 inch square

Layer one background and one star 3 1/2 inch square right side facing and pin.  Draw a diagonal line from corner to corner.  Then draw a line quarter inch either side of diagonal line.
Sew on the outer lines.  I like to use an open toe foot on my sewing machine for sewing when using this method.  I like to be able to see the line where I am sewing.  If you wish you could hand stitch the lines.
The cut on the centre line. Repeat with the other pair 3 1/2 squares.
Press towards the darkest fabric.  PRESS, please do not iron, and treat with care as this is a bias seam.    Now trim the half square triangle squares to 2 1/2 inches.  Remembering to place the 45 degree line on your ruler along the stitched seam.
Arrange your squares as shown above.  Watch out for the correct placement of your half square triangle squares.
Sew into three rows using a quarter inch seam allowance.  Press the top and bottom seams away for the centre square.  Press the middle seams towards the centre square.  This will make it easy to stitch the three rows together.  Please remember to match up all your seams.
Now give your finished block a press.  The block should now measure 6 1/2 inches.  Once sewn into a project or quilt it will a 'finished' 6 inch square.